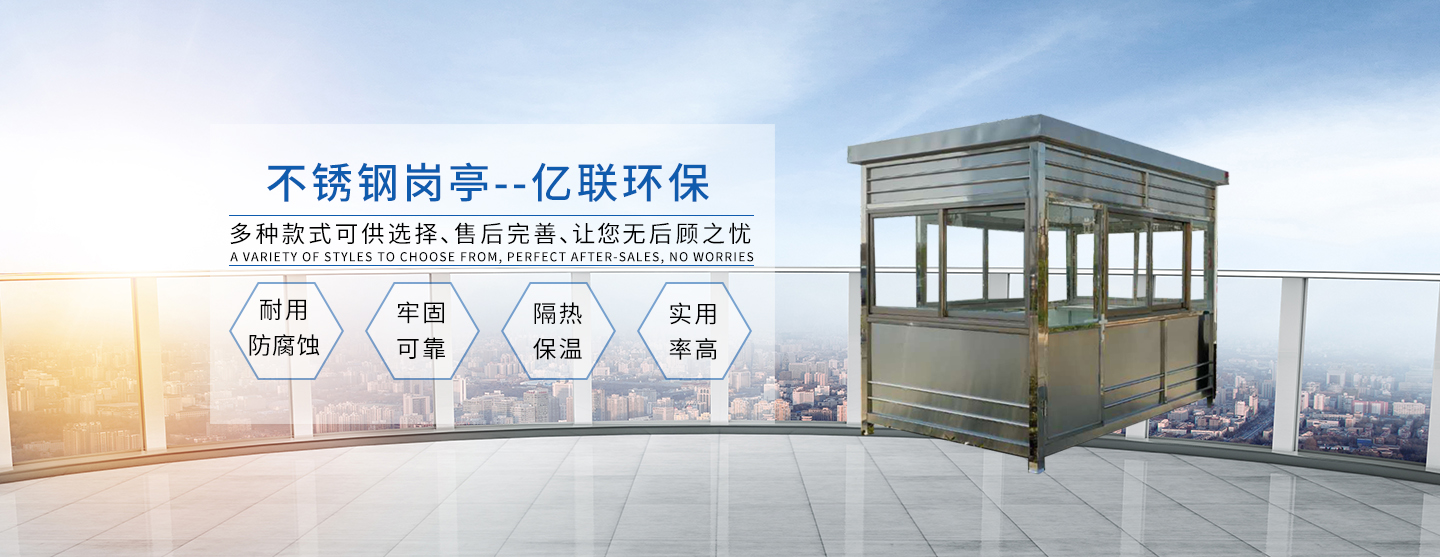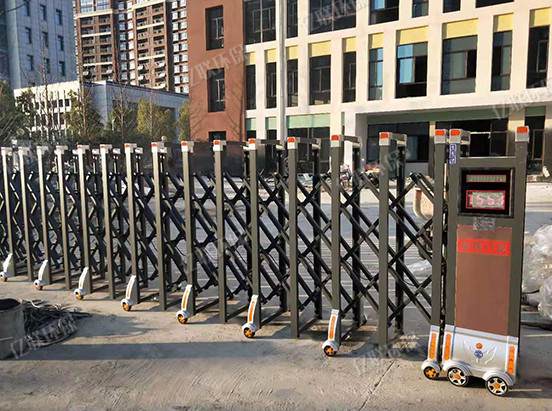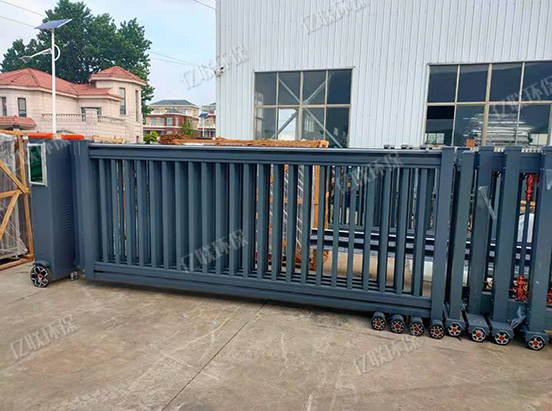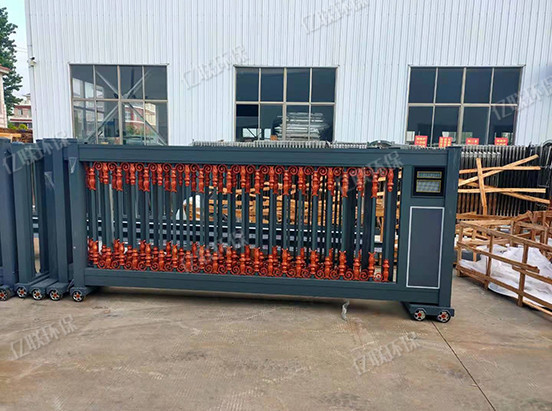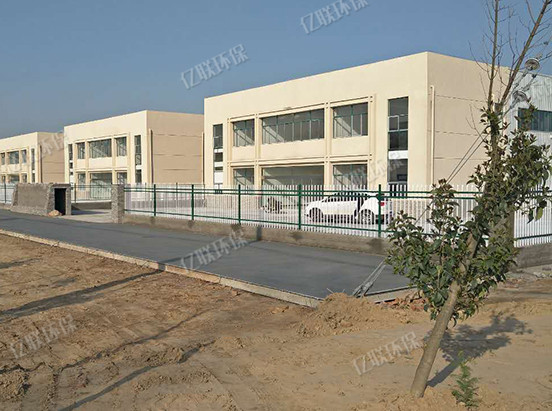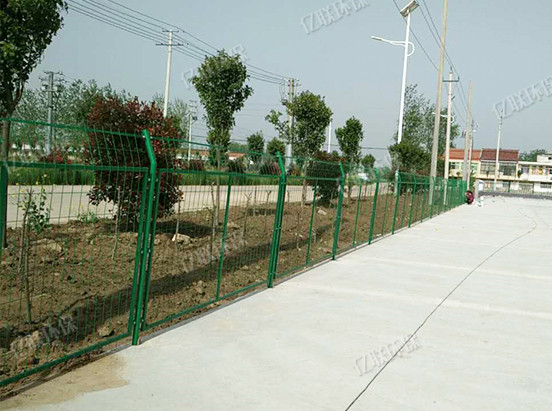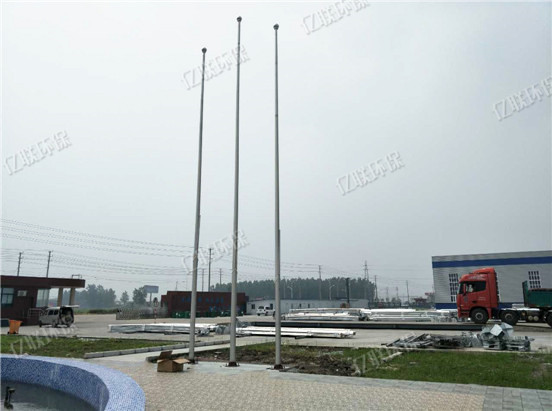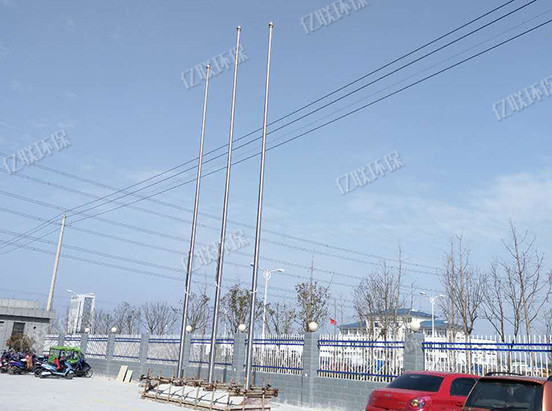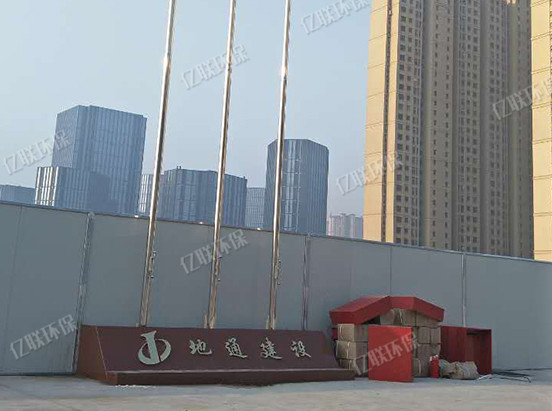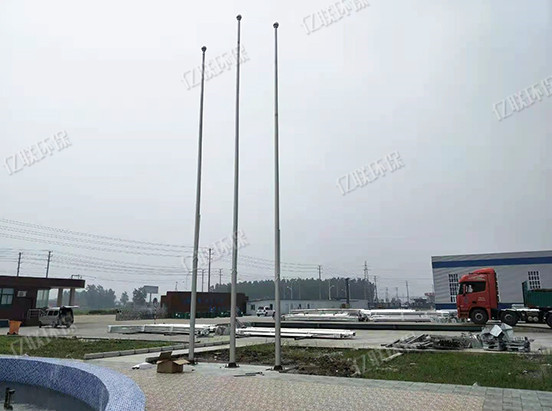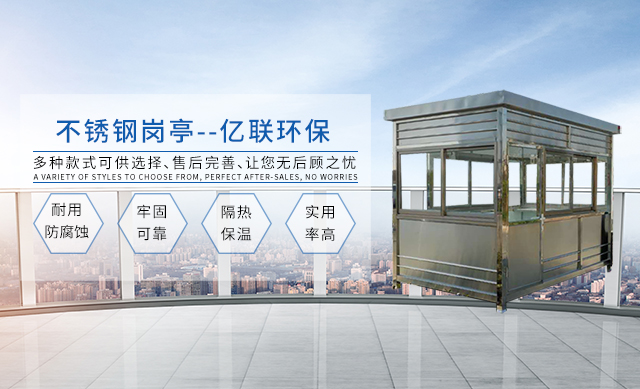
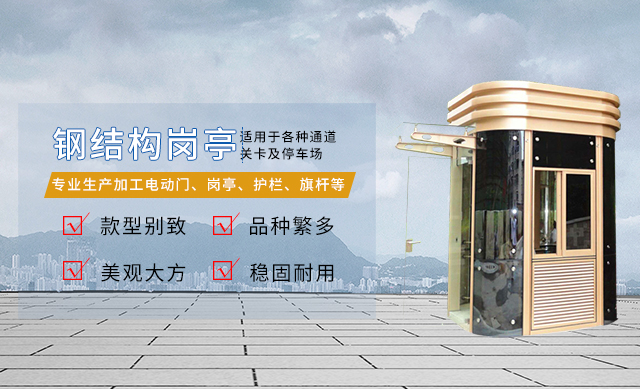

3344体育官方网站(集团)有限公司是电动门、岗亭、护栏、旗杆等产品专业生产加工的公司,拥有完整、科学的质量管理体系。3344体育官方网站(集团)有限公司的诚信、实力和产品质量获得业界的认可。欢迎各界朋友莅临参观、指导和业务洽谈。3344体育官方网站(集团)有限公司是电动门、岗亭、护栏、旗杆等产品专业生产加工的公司,拥有完整、科学的质量管理体系。3344体育官方网站(集团)有限公司的诚信、实力和产品质量获得业界的认可。欢迎各界朋友莅临参观、指导和业务洽谈。
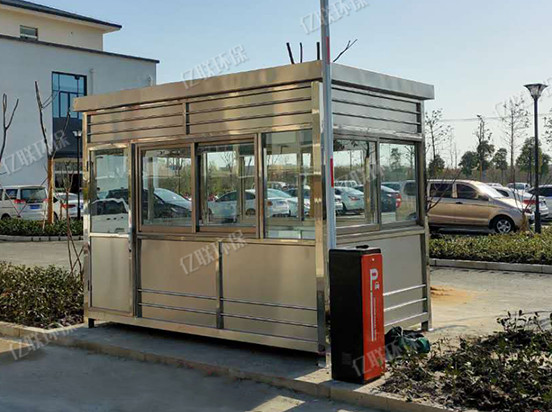
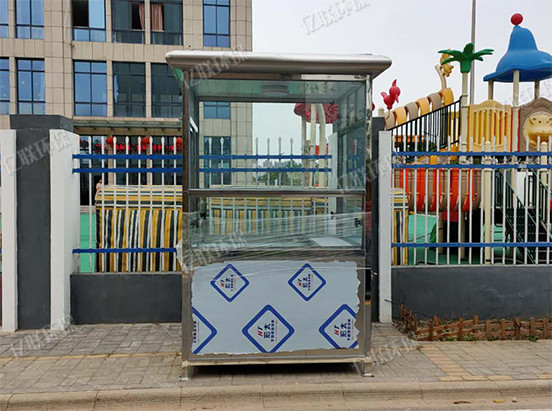
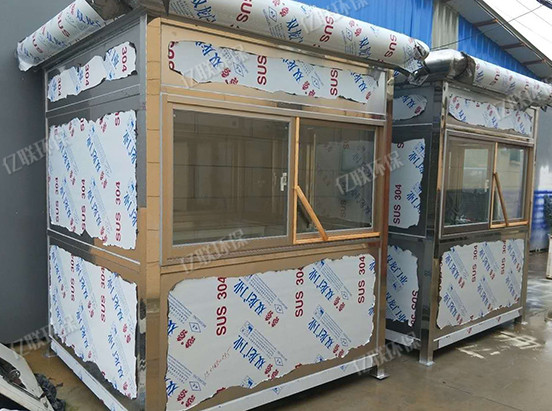
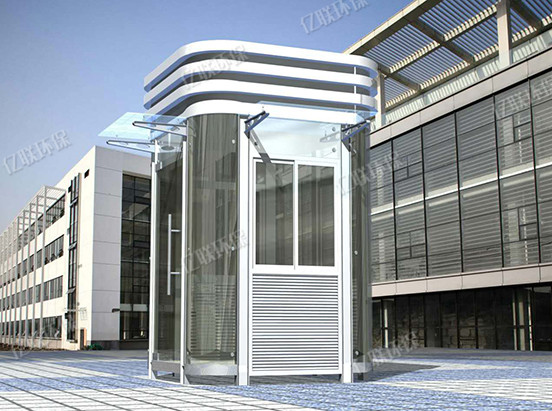
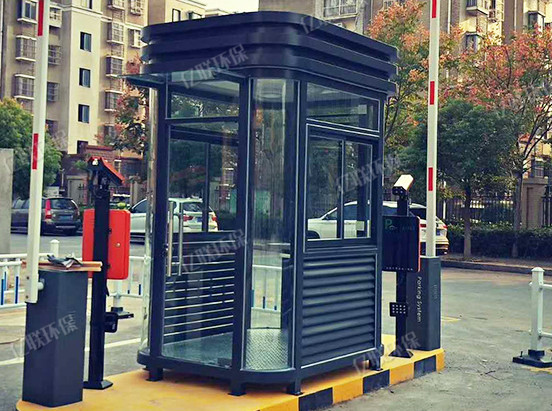
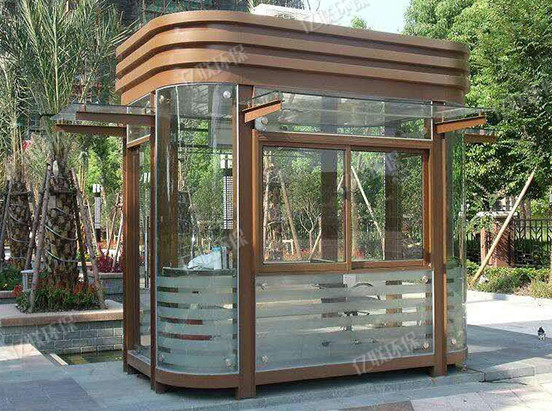
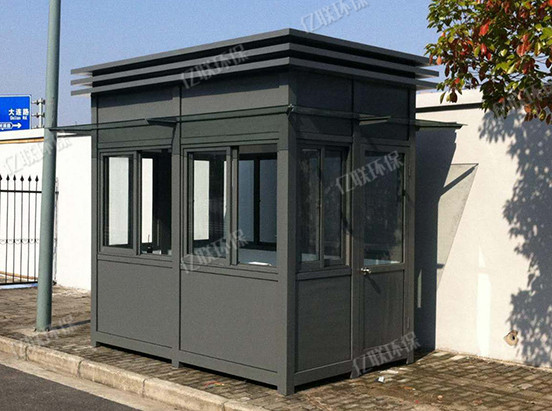
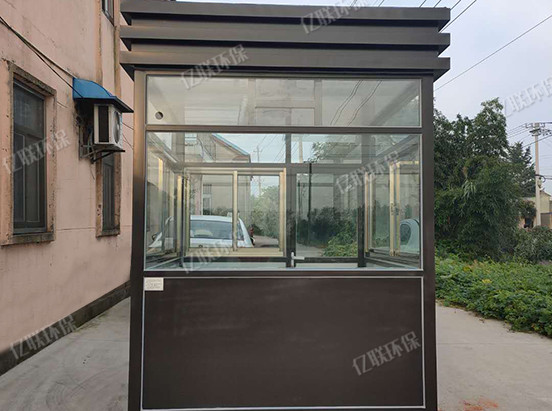
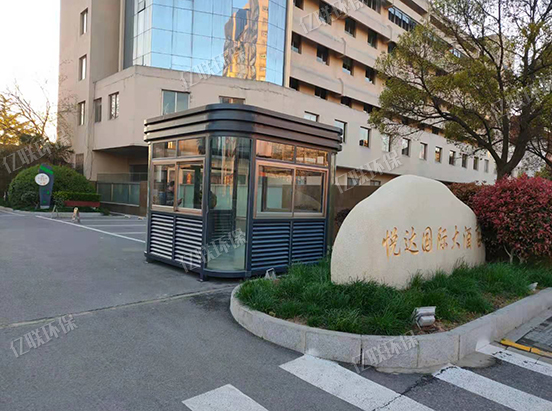
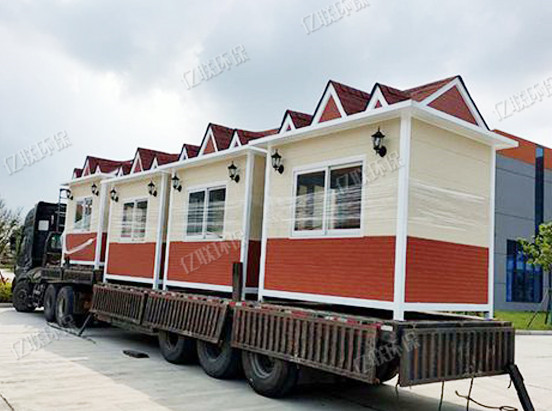
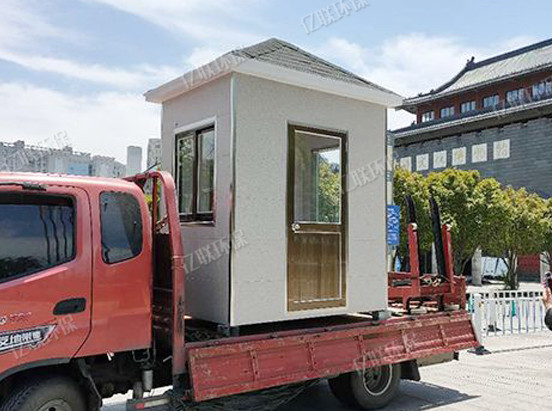
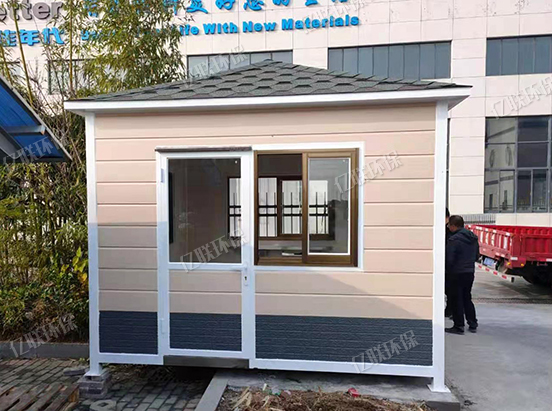
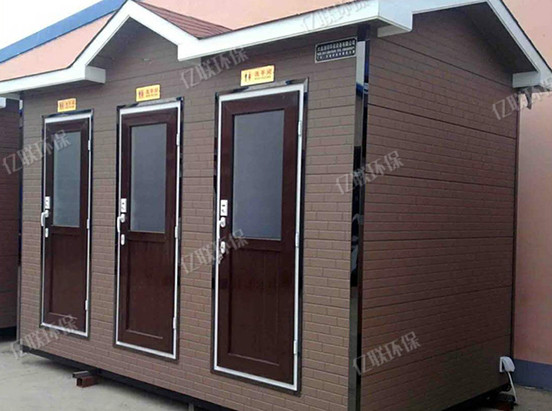
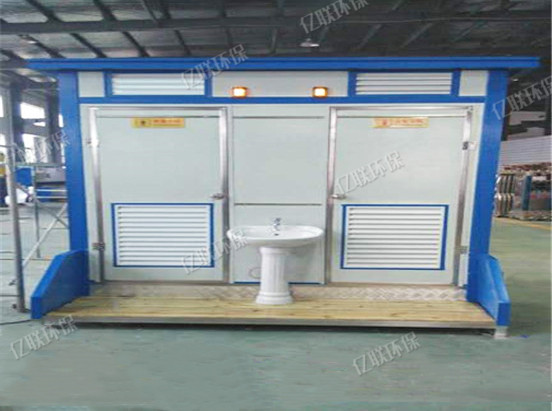
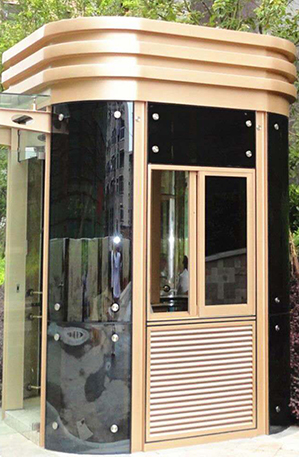
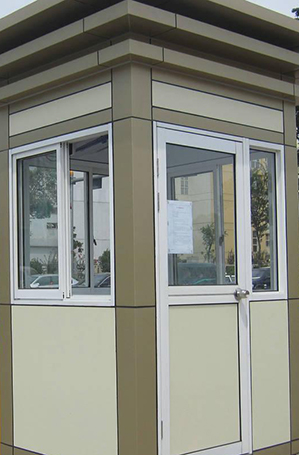
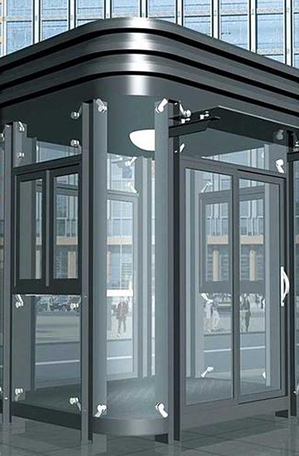
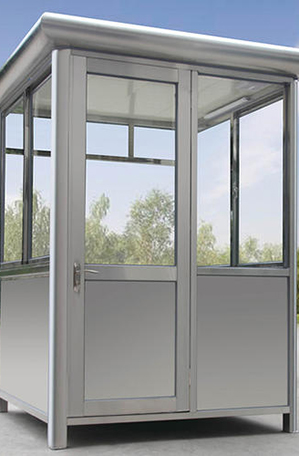
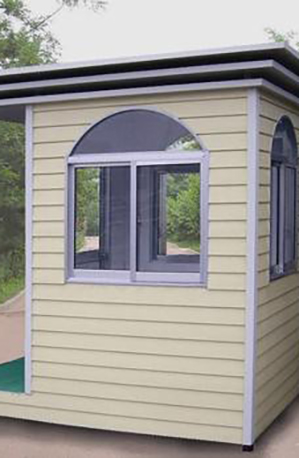
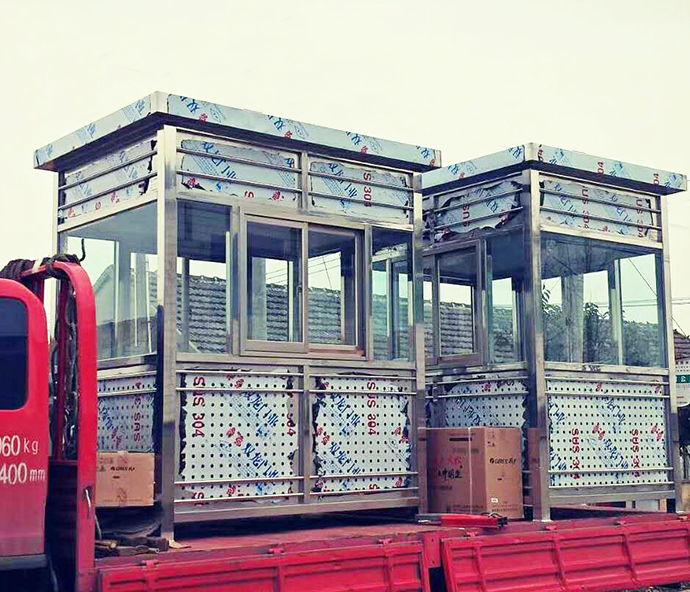
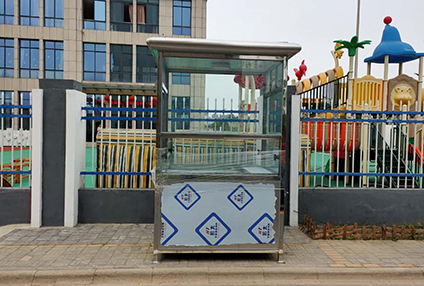
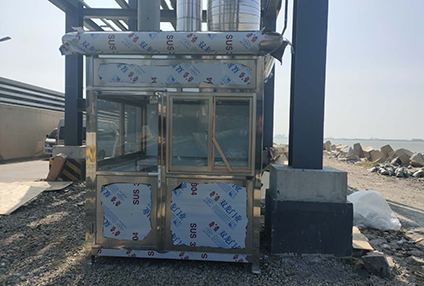
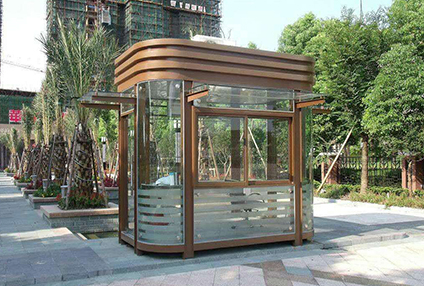
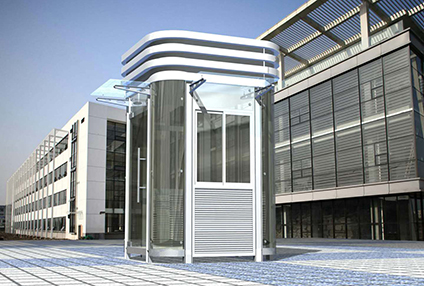
专业岗亭生产厂家,欢迎各界朋友莅临参观、指导和业务洽谈
带您了解行业资讯